 Many of us are looking for new at-home projects these days. One of our collections managers’ parents are taking advantage of this extra time to digitize some historic family photographs. Just in case you don’t have a museum employee for a child, we thought we’d share some tips.
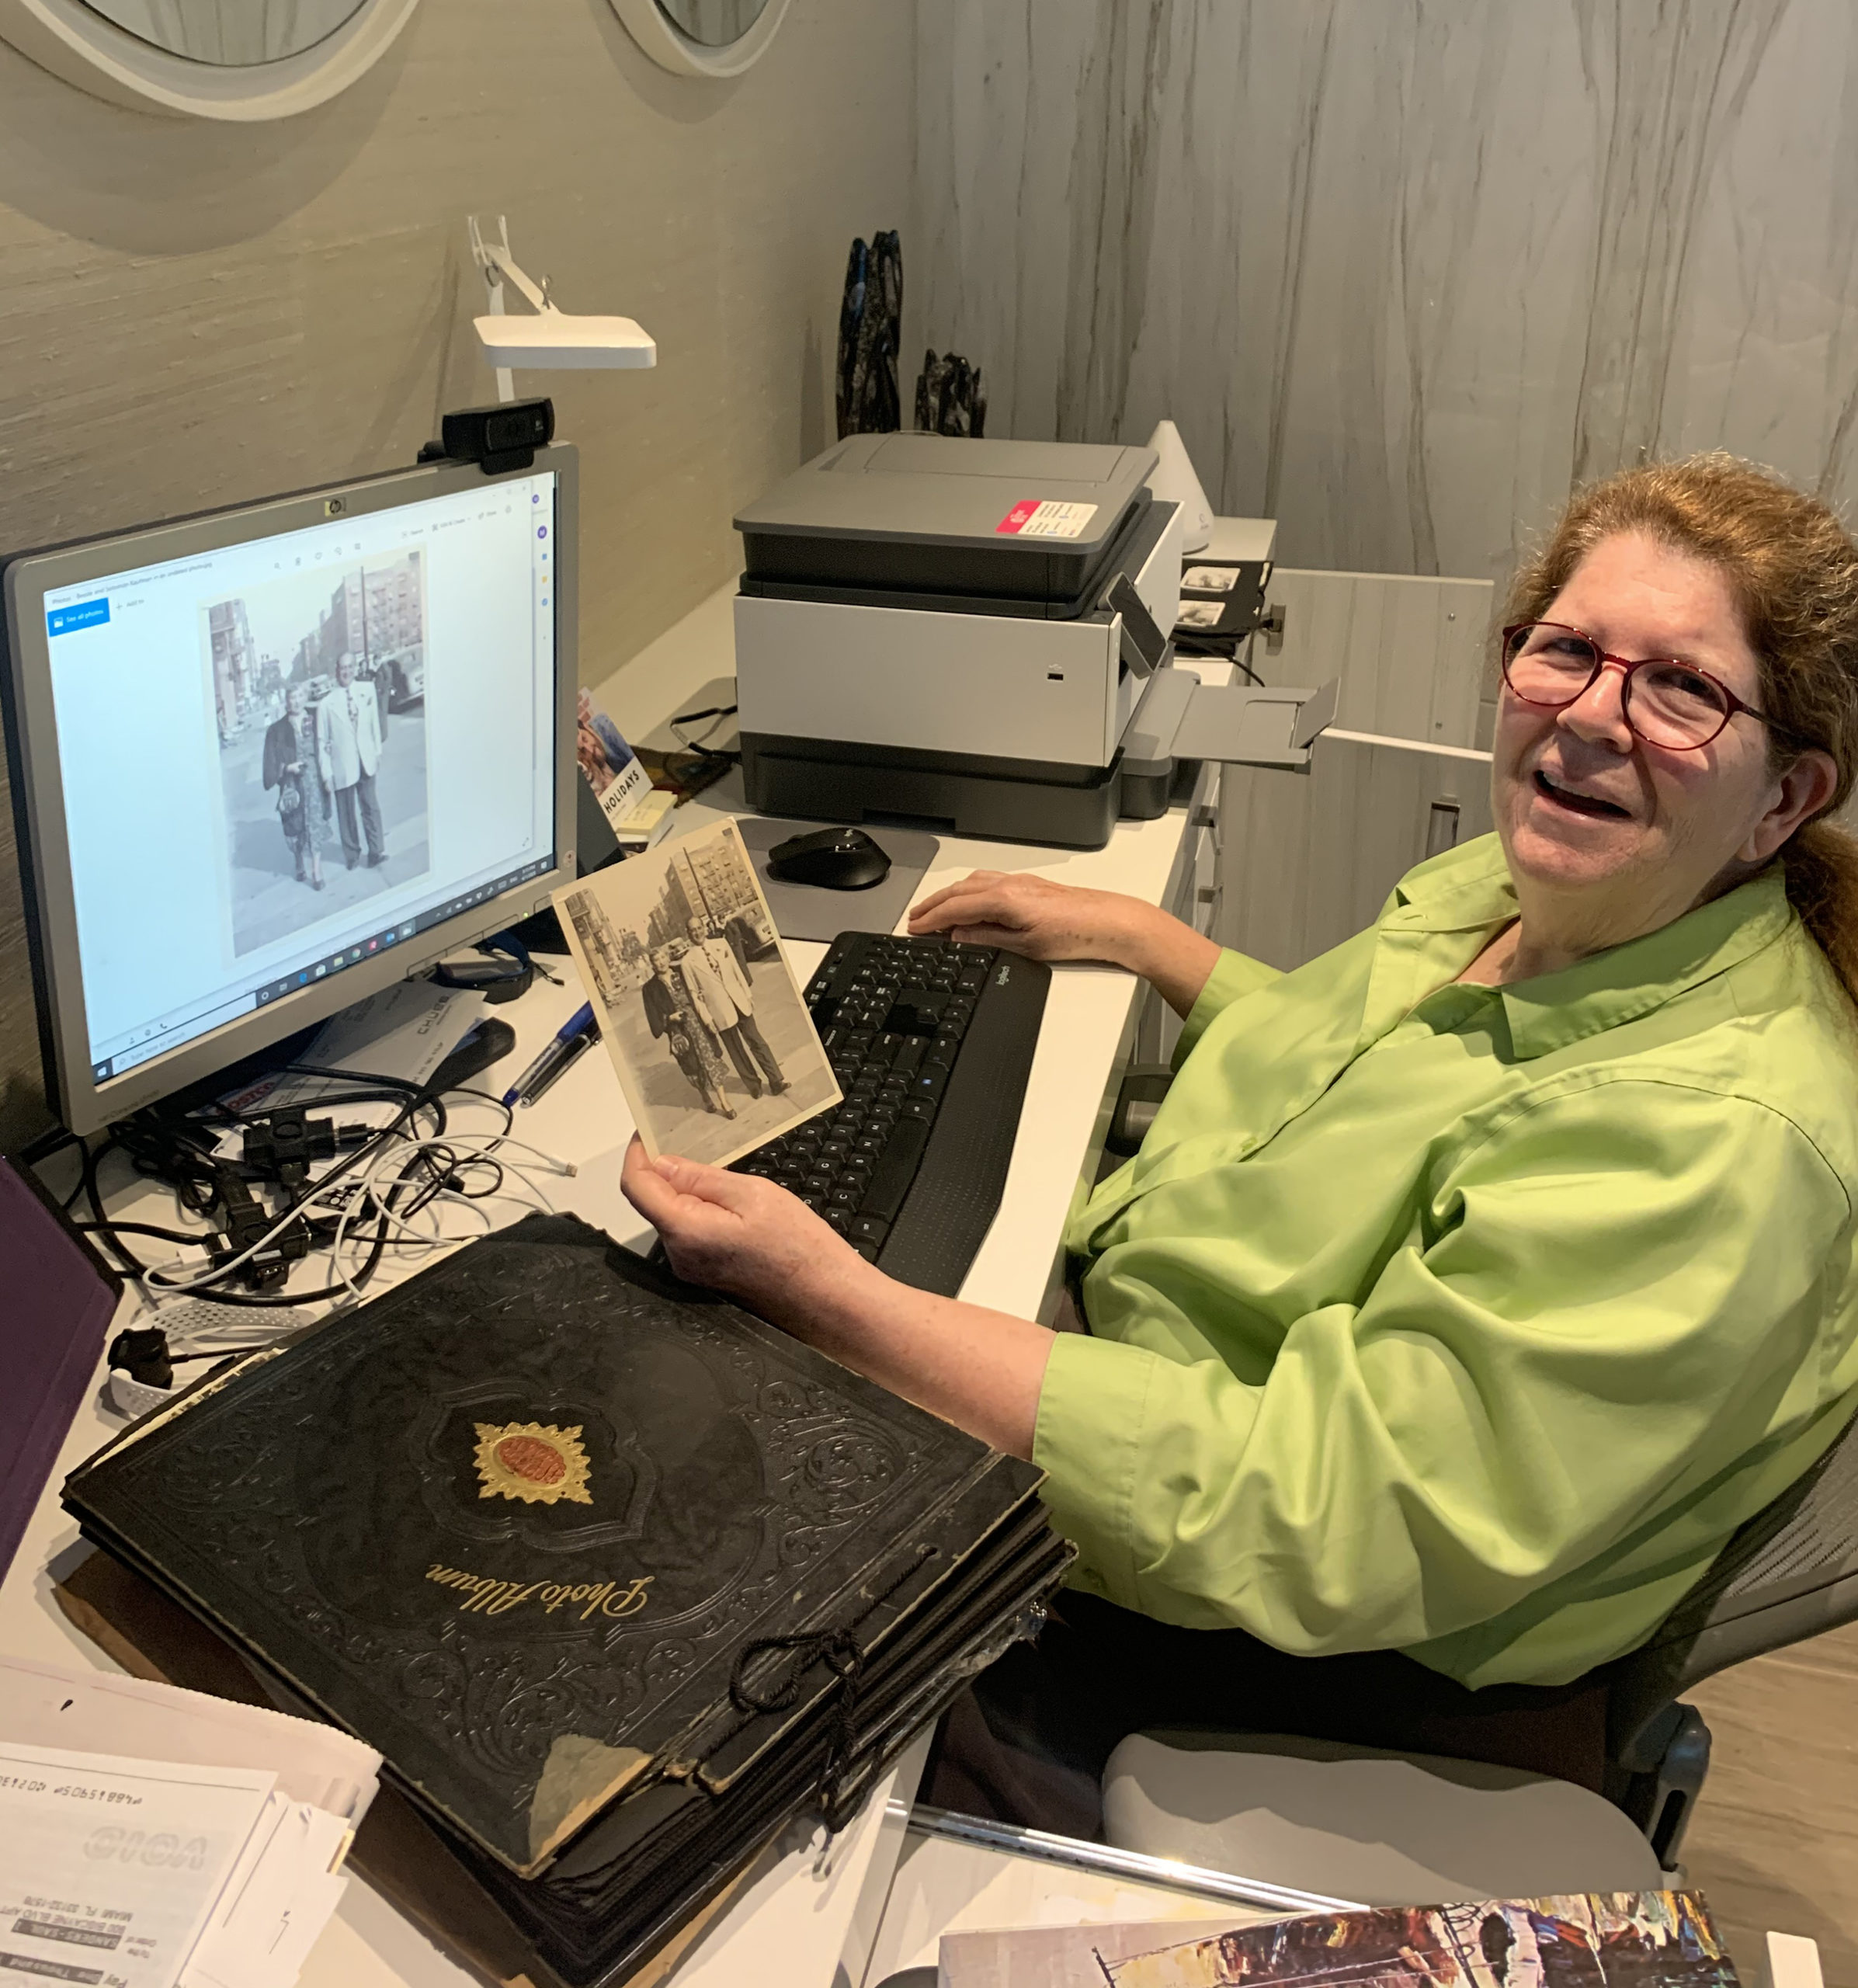
Before you set out on your digitizing journey, think about the project as a whole. You don’t want to re-scan the same photograph ten times to get it right. Ask yourself: What’s your end goal? How are you going to name the files? Where will the files be stored? How will you share them?
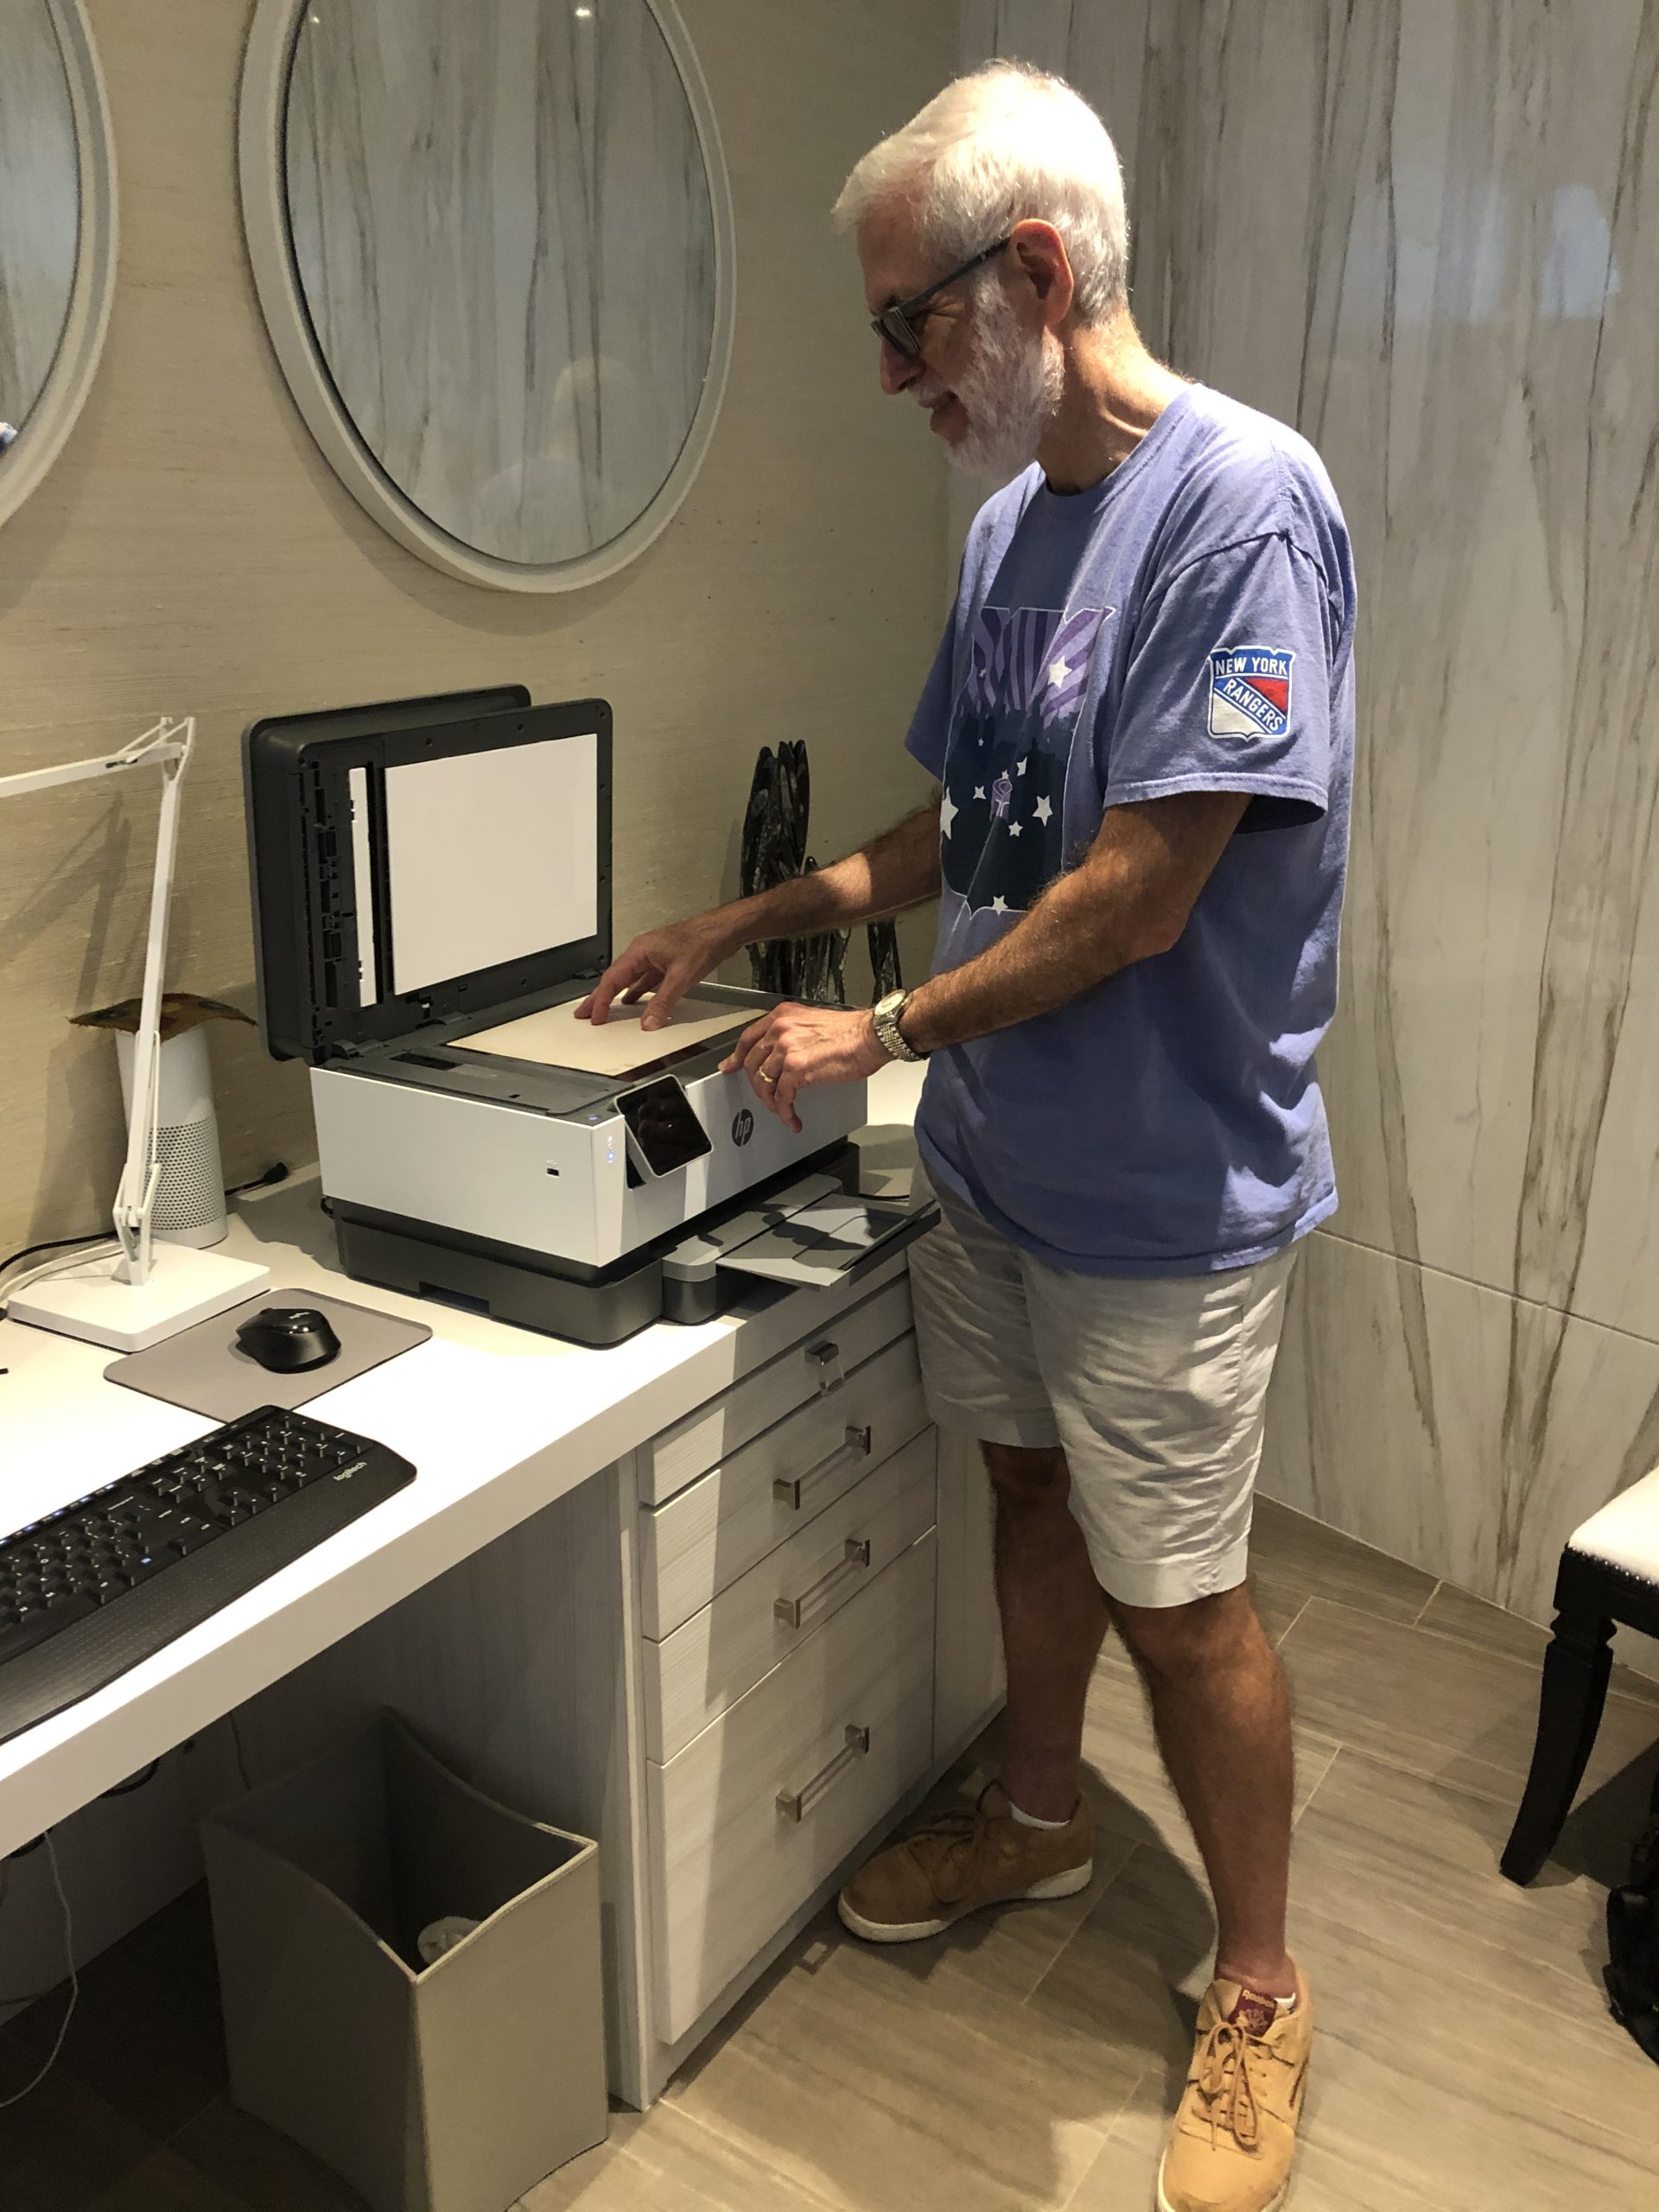 Best practice when handling photographs is to wear gloves. However, given the current situation we can save the glove supplies for medical staff, but be sure to wash your hands thoroughly before and after touching the prints (note: this does not apply to negatives, which you should hold off on until gloves are available again).
Scanning photographs creates a more long lasting and accessible copy, but not all files types are created equal. TIFF files are the most stable, but are also are massive. Since you’re likely not preserving your family photos for a museum, a JPEG is a good alternative.
Speaking of file size, make sure you check the dpi, or dots per inch, that your scanner is set to. Many scanners default to 200–300 dpi, but if you might want to zoom in on details of the photograph or print it at larger than true size, we recommend 600 dpi. Just remember that file size will correlate to physical photo size (the inches of dpi); if your original print is quite large, finding the right balance between dpi and file size will be necessary.
Spend the time now to line up the photographs correctly. This way you won’t have to straighten them later or force your family members to look at their relatives askew.
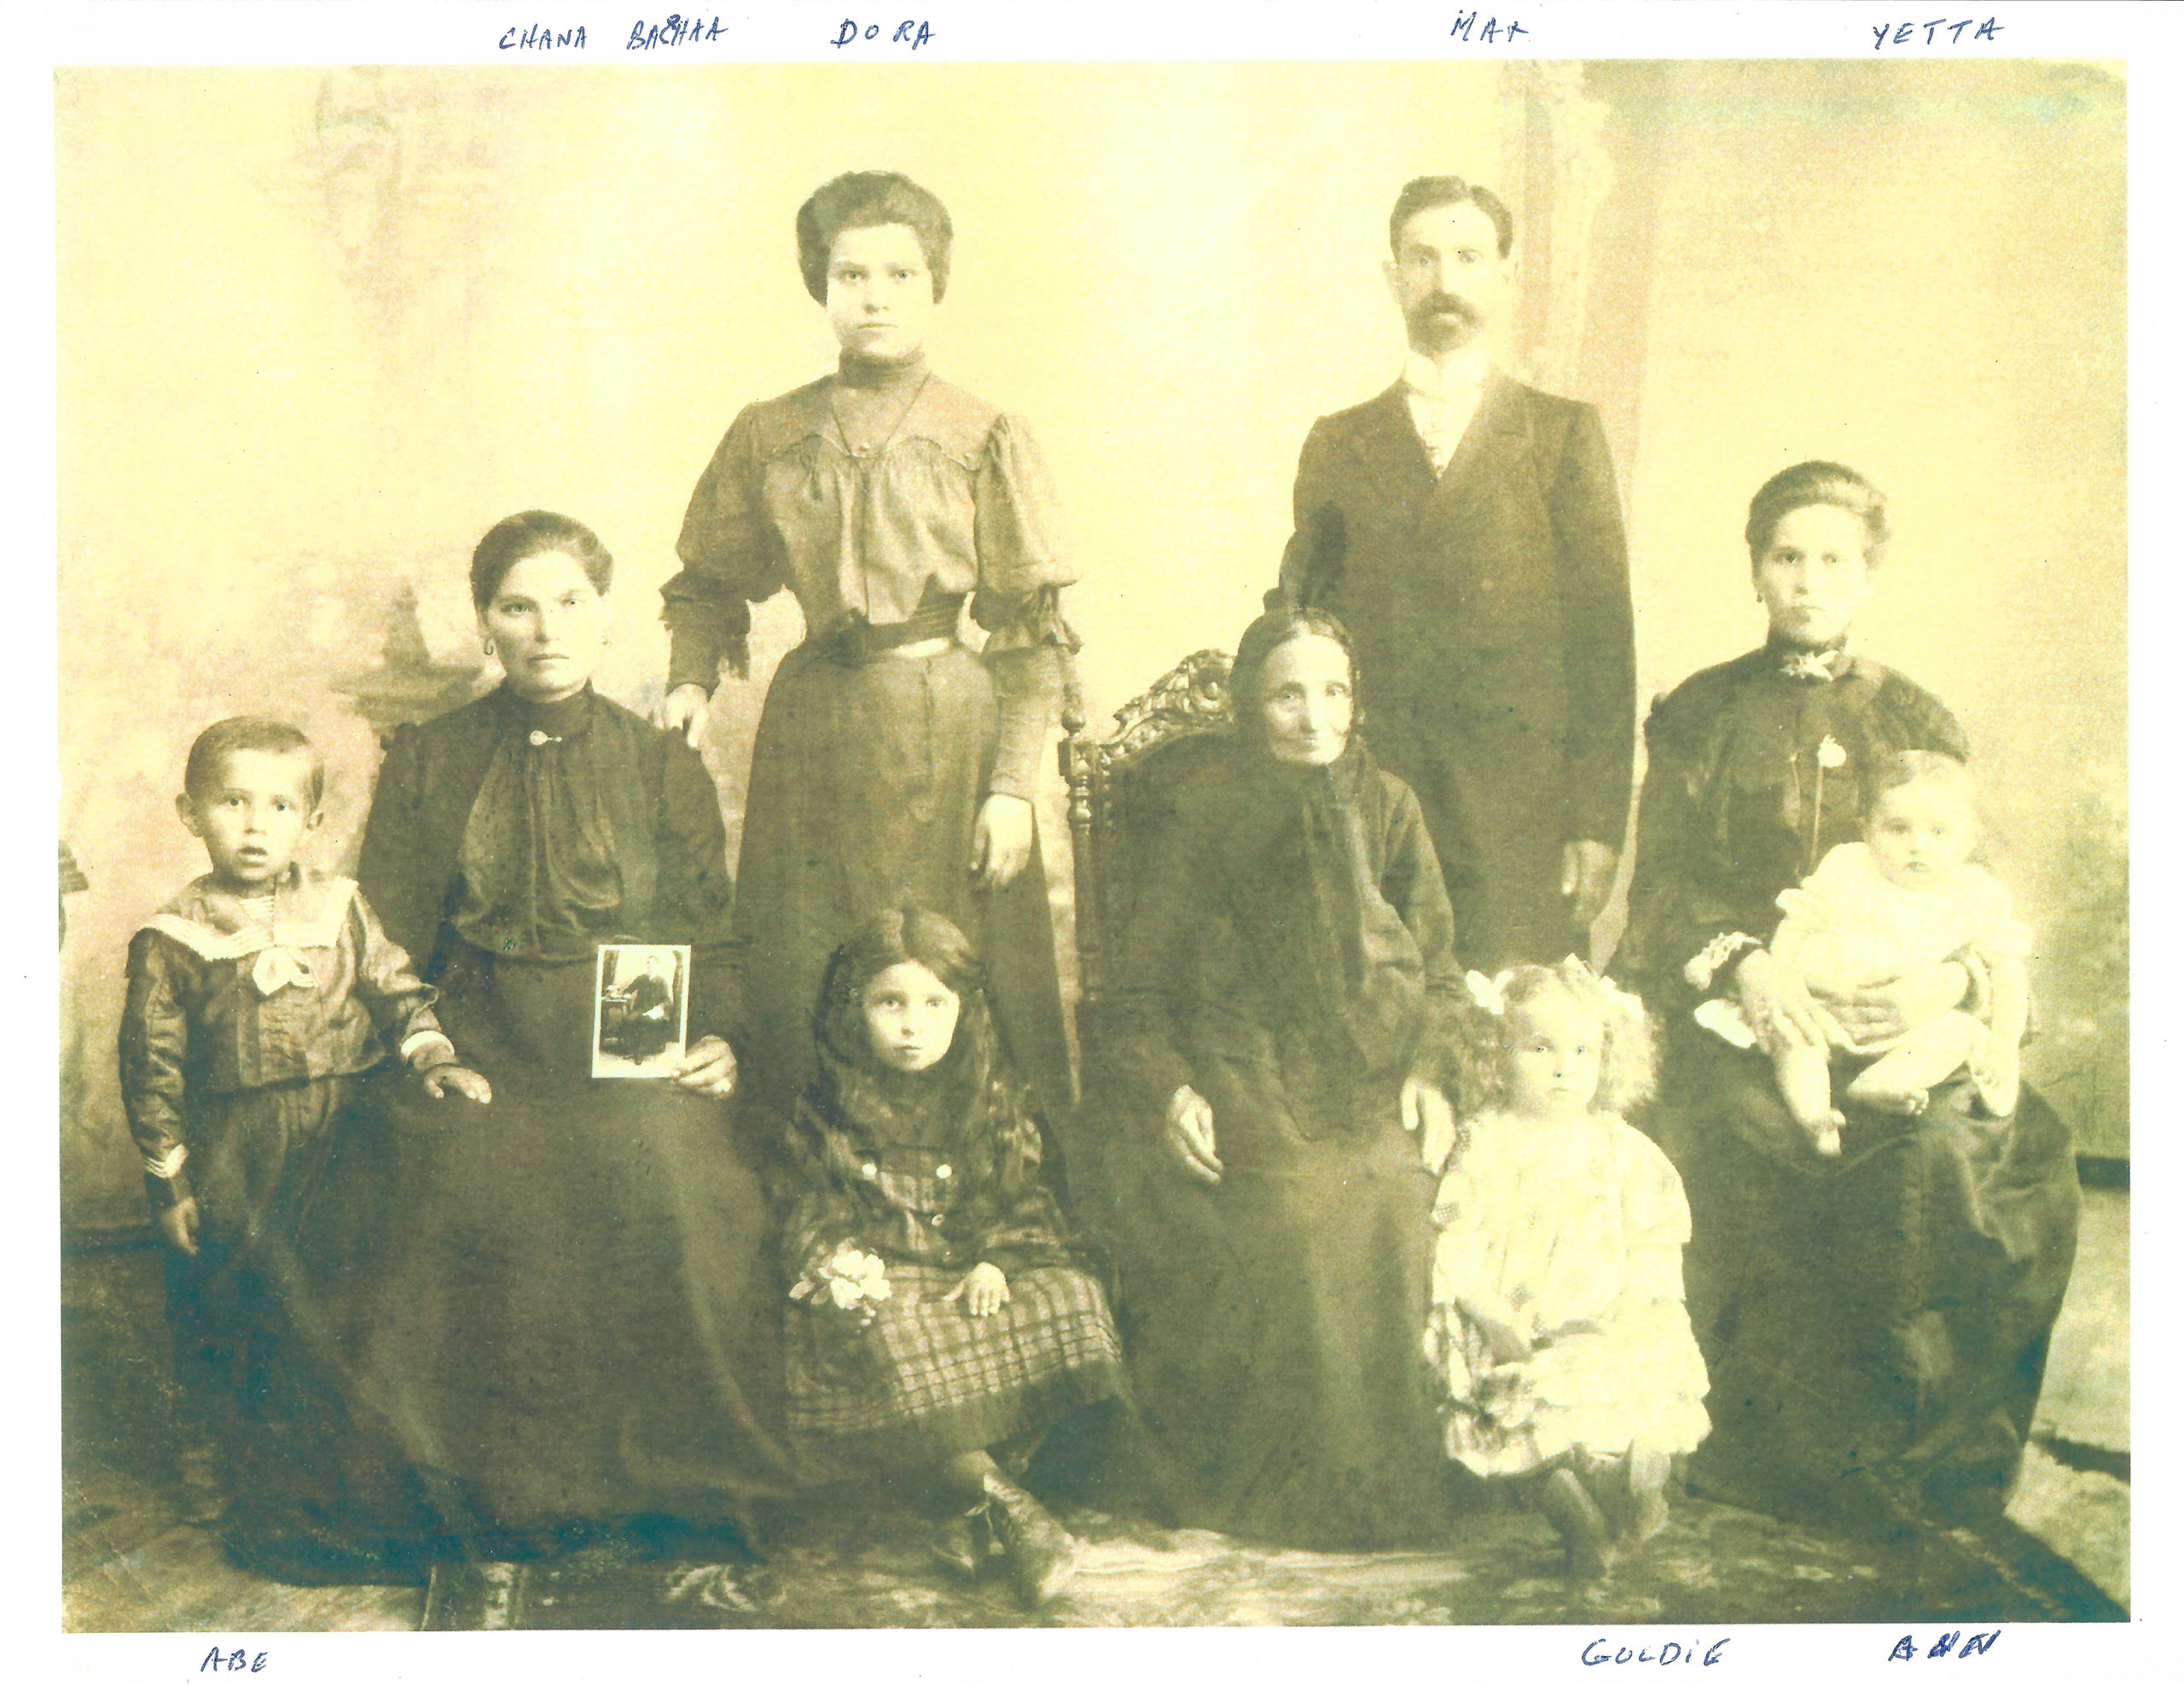
The photograph that changed family history: The Slupsky family lore was that they came from near Warsaw, Poland, but this photograph is clearly annotated on the back that it was taken in 1909 in Vitebsk (in Belarus) — a great illustration of why the contextual information can be as, if not more, important than the image!
Importantly, don’t lose the contextual information on the photographs! Future generations may not be able to deduce the date and location this photograph was taken, but you have it written on the back of that print. You can enter this information into the file’s metadata or come up with your own way to track it such as in a Word or Excel document. Just be consistent and don’t get rid of the original scan; importing your photo into other files compresses it.
When you are done scanning, don’t choose your favorite photo to frame on the wall, use a printout from your scan for that. Instead, consider purchasing some acid free folders to store them in, which will make the originals last longer. Don’t need them anymore since you have the scans? Make sure you back up your files in multiple places so that if you have computer problems, you don’t lose the only copy. Also, don’t forget to ask if another member of your family might want to care for those originals, especially if you have a collections manager for a daughter!